
Hytale’s creative mode is much more than a simple world editor or an infinite block inventory; it is a complete creation engine focused on playful interaction, creative expression, and collaboration.
Philosophy and Features
Hytale aims for the creative mode “not to feel like an editor,” prioritizing a fluid and immersive in-game experience.
- Unlimited Flight and Noclip: Move freely through walls with adjustable speed.
- Invulnerability: Build without fear of damage.
- Instant Placement: No resource constraints.
- Real-time Multiplayer: Collaborate with friends and see their cursors live.
Accessing the Tools
To enter this mode, you must first leave adventure mode. Use the O key (default) to open the Gamemode selector.
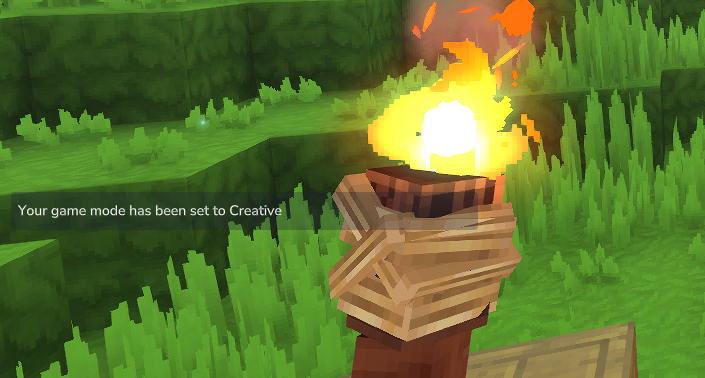
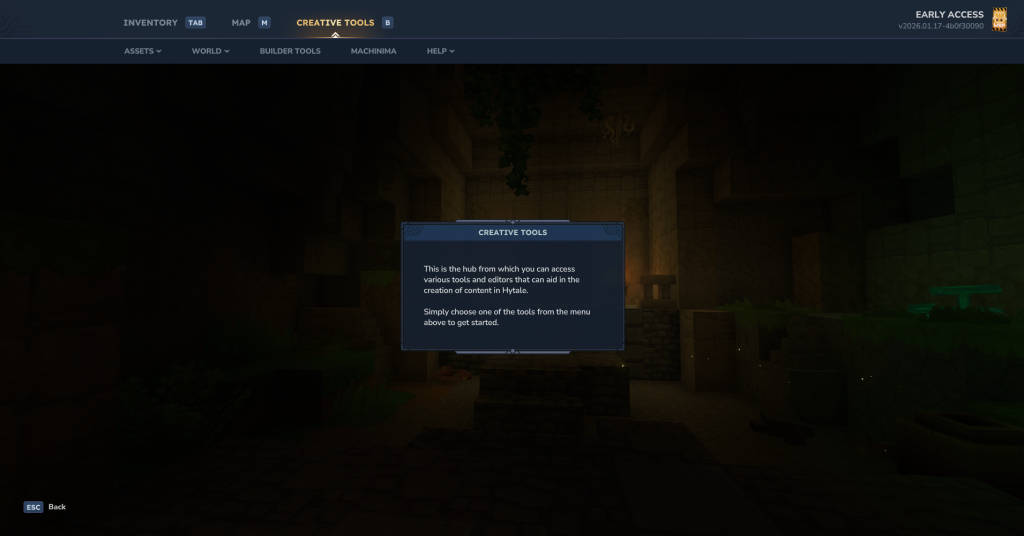
Once in creative mode, press B to open the “Creative Tools” Hub. This Hub is your central dashboard divided into four major tabs: ASSETS, WORLD, BUILDER TOOLS, and MACHINIMA.
ASSETS
This menu provides access to the game’s deep structure. The dropdown menu offers access to three main editors.
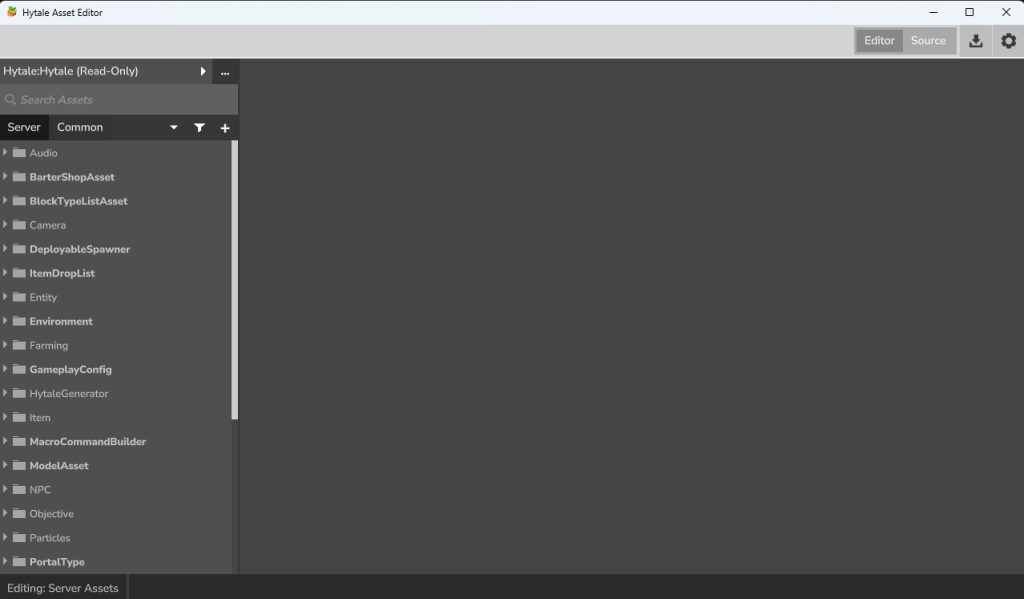
Hytale Asset Editor A dedicated window opens, revealing the game’s complete directory tree. You can navigate folders like Audio, Camera, Entity, Environment, Item, Particles, or GameplayConfig. This allows for real-time modification of existing element properties.
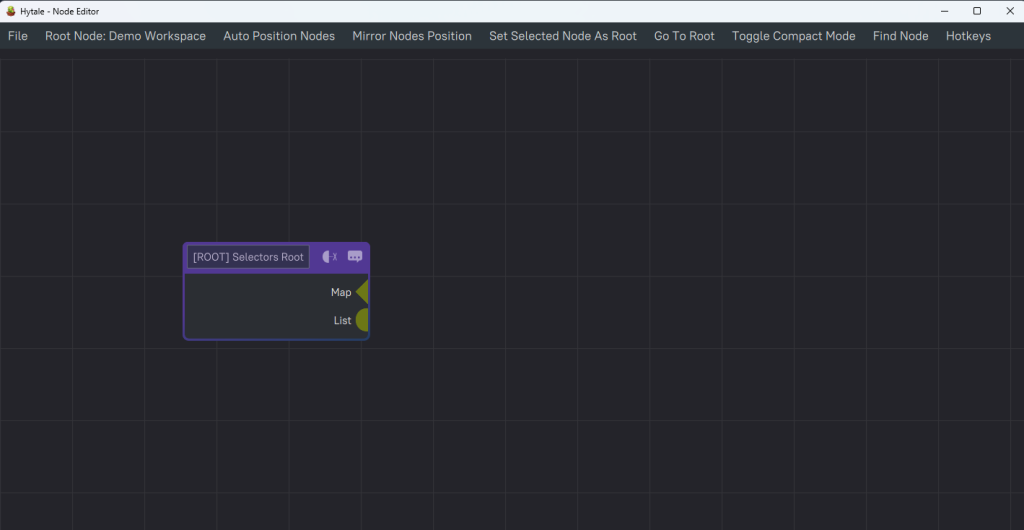
Asset Node Editor This tool displays a workspace grid for visual programming (scripting). The interface manages nodes, with options like “Auto Position Nodes” or “Set Selected Node As Root,” allowing for the creation of complex logic.
WORLD
This menu is the richest for populating and defining your world. Here is the detail of each tool available in the dropdown list.
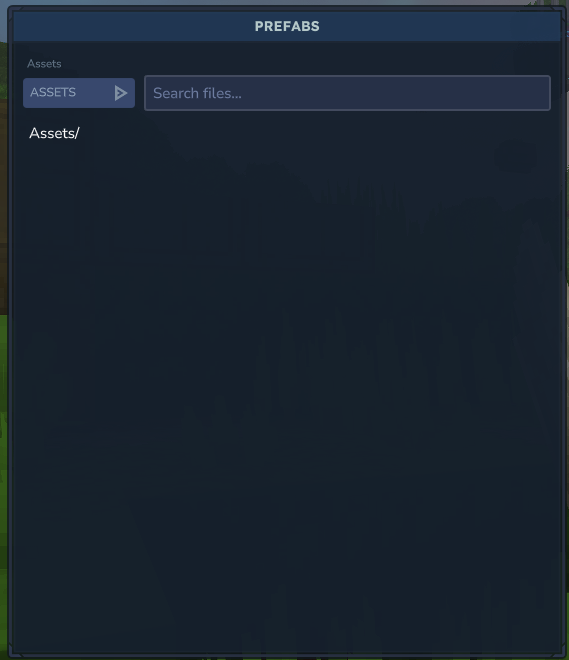
Prefab List
This explorer allows you to search for pre-existing buildings or structures in the game files (Assets) via a “Search files” bar.
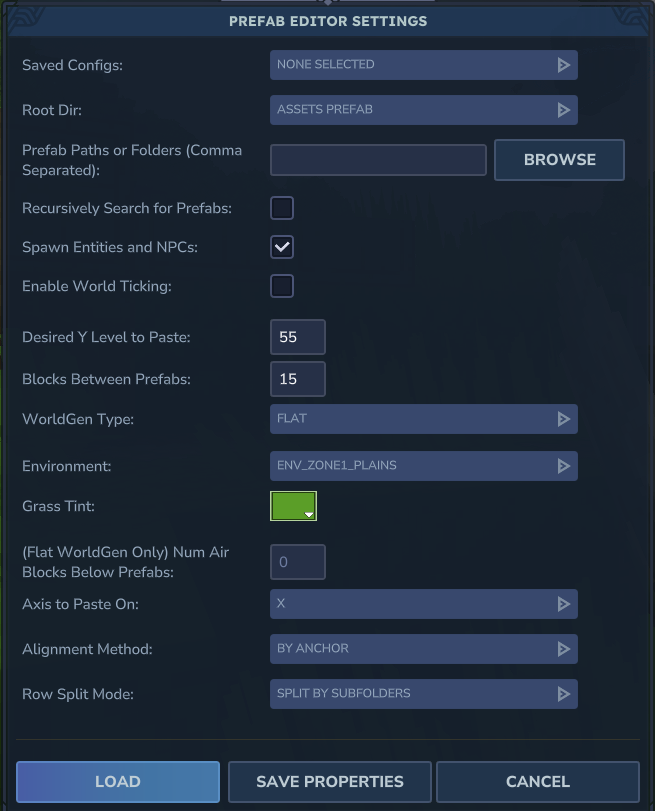
Prefab Editor
A powerful tool to configure how a structure is pasted into the world. You can adjust the height level (Desired Y Level), spacing (Blocks Between Prefabs), and even the terrain generation type (WorldGen Type, e.g., FLAT). A crucial checkbox, Spawn Entities and NPCs, allows including monsters associated with the structure directly upon spawning.
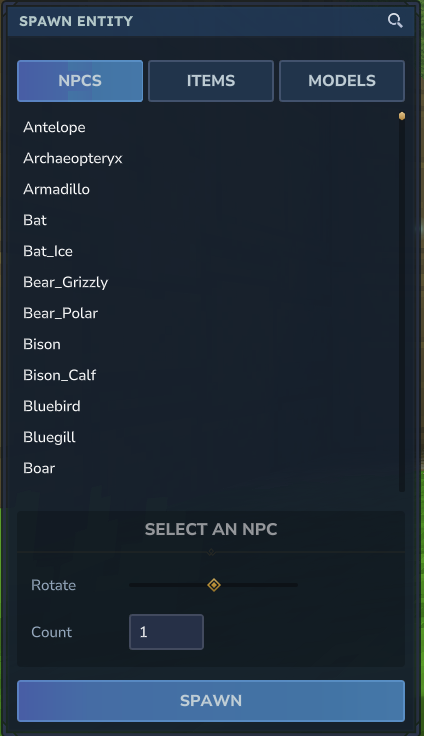
Spawn Entity
A dedicated interface for spawning NPCs, items, or models. It is divided into tabs (NPCs, ITEMS, MODELS). You can select a creature (e.g., Antelope, Bear_Grizzly), define its rotation, and choose the number of entities to spawn simultaneously via the Count field.
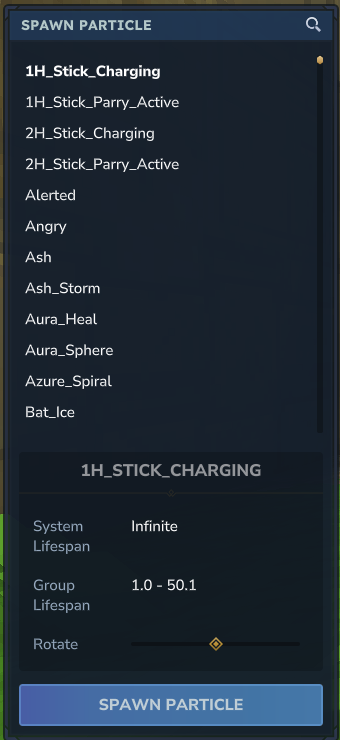
Spawn Particle
Allows testing and placing visual effects (e.g., 1H_Stick_Charging, Ash_Storm). The tool displays technical info like System Lifespan and allows adjusting the effect’s rotation.
Change Player Model
Transform your avatar into any creature or object in the game. The list offers everything from an Antelope (Antelope) to arrows (Arrow_Fire) or bats (Bat). A Scale slider at the bottom of the window allows adjusting your model’s size.

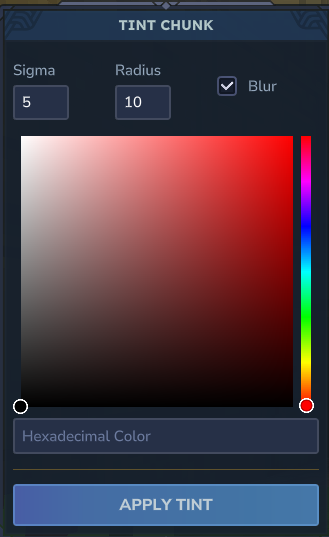
Tint Chunk
This tool allows changing the color atmosphere of a zone (Chunk). You can choose a precise color via a selector (spectrum or hex code), adjust the effect radius (Radius) and intensity (Sigma). The Blur option softens the transition between colored zones.
Instances
A quick teleportation menu to different world types or dimensions. The list includes climatic zones (Zone2_Desert1, Zone4_Volcanic1), the Void (Void), or specific test zones like NPC_Gym.

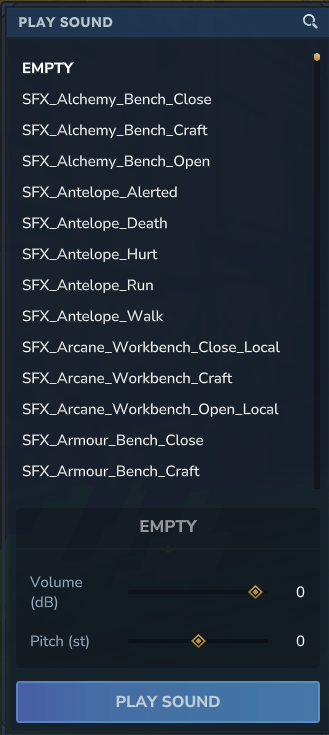
Play Sound
A sound bank to test game audio effects (e.g., SFX_Antelope_Alerted, SFX_Alchemy_Bench_Craft). You can adjust Volume in decibels (dB) and Pitch before playing the clip.
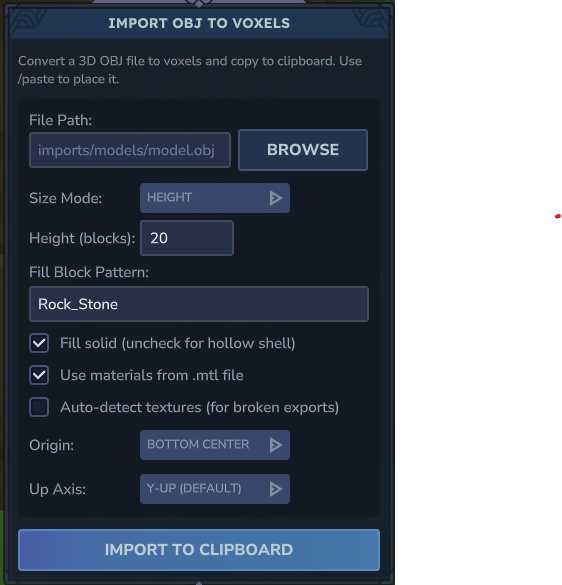
Import OBJ (3D Models)
Converts an external .obj 3D file into voxels. You can define the size in blocks (Height), choose the filling material (Fill Block Pattern, e.g., Rock_Stone), and decide if the object should be solid or hollow via the Fill solid checkbox.
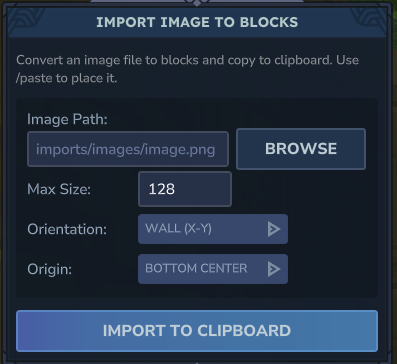
Import Image
Converts a .png image into blocks. The tool asks for the file path (Image Path), max size (Max Size), orientation (e.g., Wall X-Y), and the origin point to place it correctly in the world.
BUILDER TOOLS
This interface replaces the classic inventory with a palette of specialized tools for massive construction.
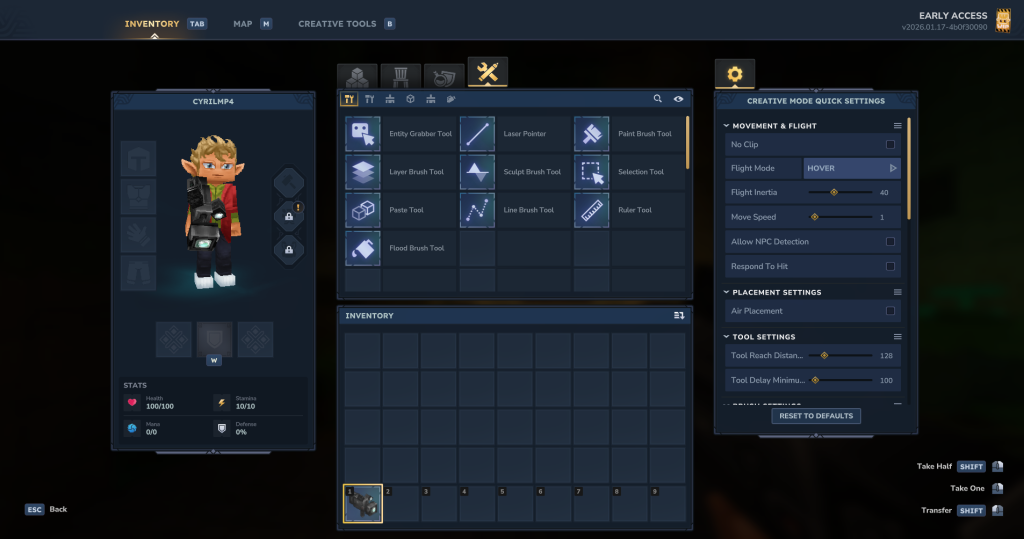
The Tool Palette In the center of the screen, a grid gives access to the instruments:
- Entity Grabber Tool (move objects) and Selection Tool.
- The brushes: Paint Brush, Layer Brush, Sculpt Brush, Line Brush, and Flood Brush.
- Measuring tools: Laser Pointer and Ruler Tool.
Creative Mode Quick Settings The right panel allows you to configure your comfort:
- Movement & Flight: Options for No Clip, Flight Mode (e.g., HOVER), inertia, and Move Speed.
- Placement: The Air Placement option allows placing blocks in the void.
- Tool Settings: Allows increasing the Tool Reach Distance to build from afar.
MACHINIMA
For content creators, this tab transforms the interface into a video editing suite.
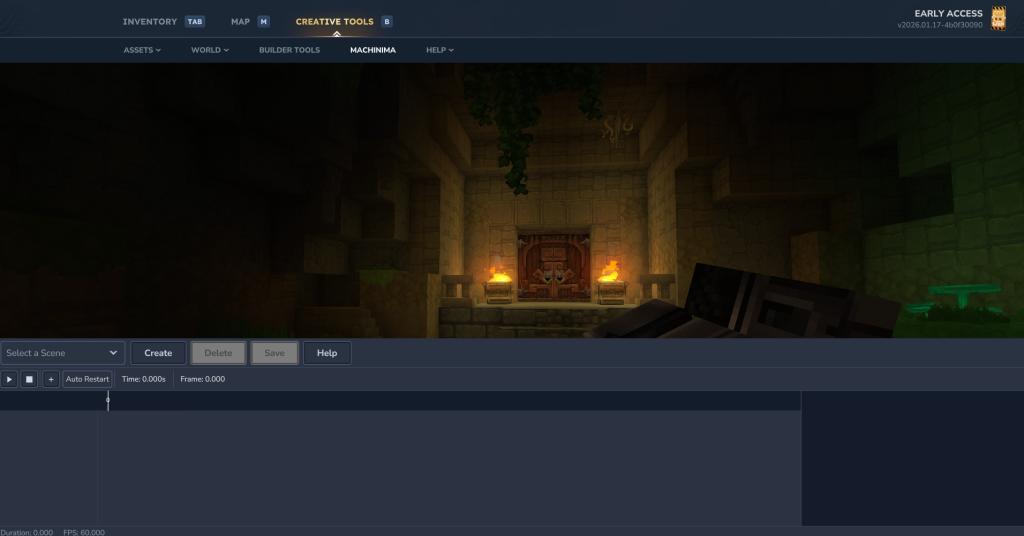
Editing Interface A Timeline appears at the bottom of the screen with a precise display of time (Time: 0.000s) and frames.
Scene Management Dedicated buttons allow you to Create, Delete, or Save scenes. Playback controls (Play/Stop) allow visualizing your cinematics directly within the engine.